 Save
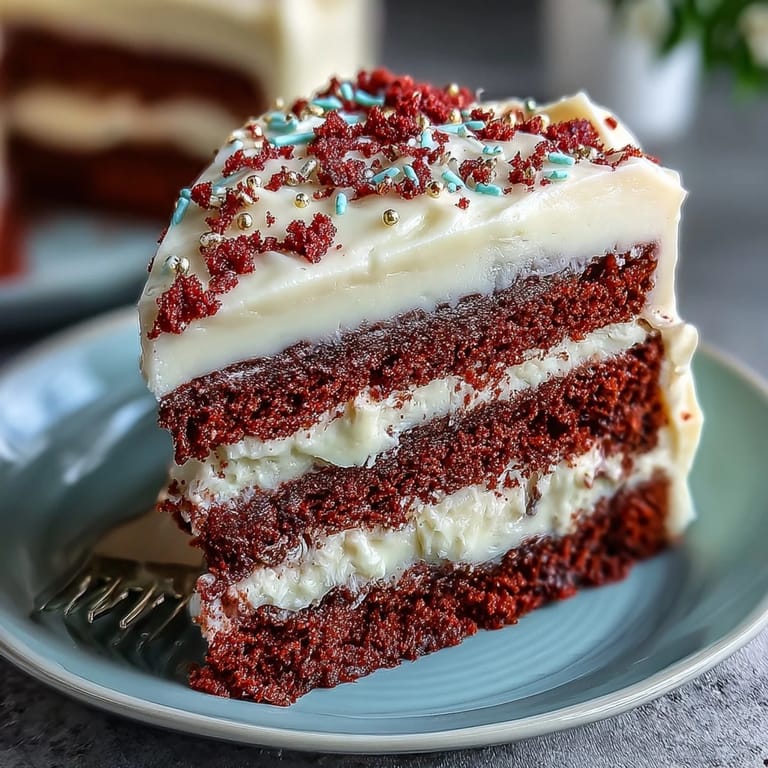
Save There’s something about the vivid hue of a red velvet cake that instantly brightens up a gathering. I’ll never forget the day a friend brought one to a picnic in the park, its striking color catching everyone’s eye. The air was thick with the sweet aroma of baking chocolate as we savored bites topped with velvety cream cheese frosting. We chatted and laughed, the cake almost an afterthought until it wasn't—a shared experience that brought us together. It's this kind of warmth that inspired me to make my version for Juneteenth, combining joy, tradition, and a sweet celebration.
Making this cake has become a joyful ritual in my kitchen. Last year, I baked it for a family gathering, and there was a moment when my niece’s eyes lit up at the first slice; her delight was priceless. As we enjoyed it, stories from our family’s roots flowed freely, tying us closer with each bite. It’s more than just a dessert; it’s a connection to our shared history, a way to celebrate heritage and the love we have for one another.
Ingredients
- All-purpose flour: This is the backbone of your cake, ensuring a soft crumb.
- Granulated sugar: It sweetens the cake and contributes to the moist texture.
- Baking soda: This is your leavening agent, helping the cake rise beautifully.
- Cocoa powder: It adds a rich cocoa flavor that complements the cake’s unique colors.
- Vegetable oil: Oil keeps the cake moist and tender, a key if it sits for a bit.
- Buttermilk: This enhances the flavor and gives the cake a slight tang.
- Red food coloring: A must for that signature red velvet hue that makes everyone take a second glance.
- Distilled white vinegar: It helps react with baking soda for a fluffier texture.
- Vanilla extract: This adds depth to the sweetness of the cake.
- Cream cheese: The heart of the frosting, it must be softened for that luxurious spread.
- Unsalted butter: Make sure it's soft to incorporate well with the cream cheese.
- Powdered sugar: This creates that perfectly sweet and fluffy frosting.
Tired of Takeout? 🥡
Get 10 meals you can make faster than delivery arrives. Seriously.
One email. No spam. Unsubscribe anytime.
Instructions
- Preheat and Prepare:
- Start by preheating your oven to 350°F (175°C) and greasing two 9-inch round cake pans. This ensures a smooth release later on.
- Mix Dry Ingredients:
- In a bowl, sift together the flour, sugar, baking soda, salt, and cocoa powder. This step keeps your cake light and fluffy.
- Combine Wet Ingredients:
- In another bowl, whisk together the oil, buttermilk, eggs, food coloring, vinegar, and vanilla until well mixed. It should feel rich and colorful.
- Bring It Together:
- Gently fold the dry ingredients into the wet mixture, being careful not to overmix. The batter should be just combined and a little lumpy.
- Bake:
- Divide the batter evenly between the prepared pans and bake for 28-32 minutes. A toothpick inserted in the center should come out clean when it’s done.
- Cool Down:
- Let the cakes cool in their pans for about 10 minutes. Then, turn them out onto a wire rack to cool completely.
- Make the Frosting:
- Beat the softened cream cheese and butter until light and fluffy, then gradually add the powdered sugar and vanilla. It should be smooth and creamy, a beautiful contrast to the cake.
- Frost Your Cake:
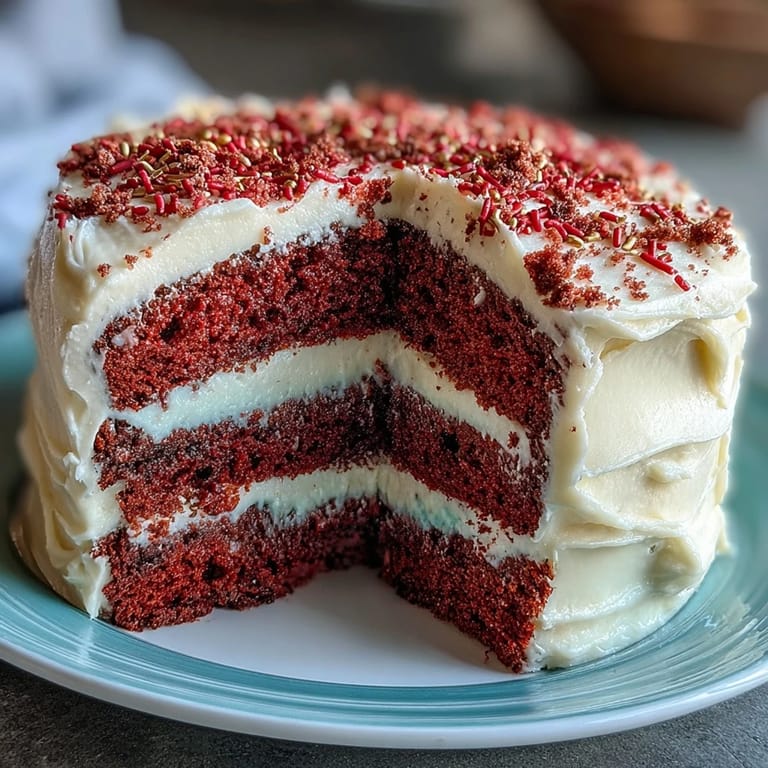
- Once the cakes are completely cooled, spread a generous layer of frosting between the layers and coat the top and sides. It’s okay to make it messy; that just adds to the charm!
- Decorate (Optional):
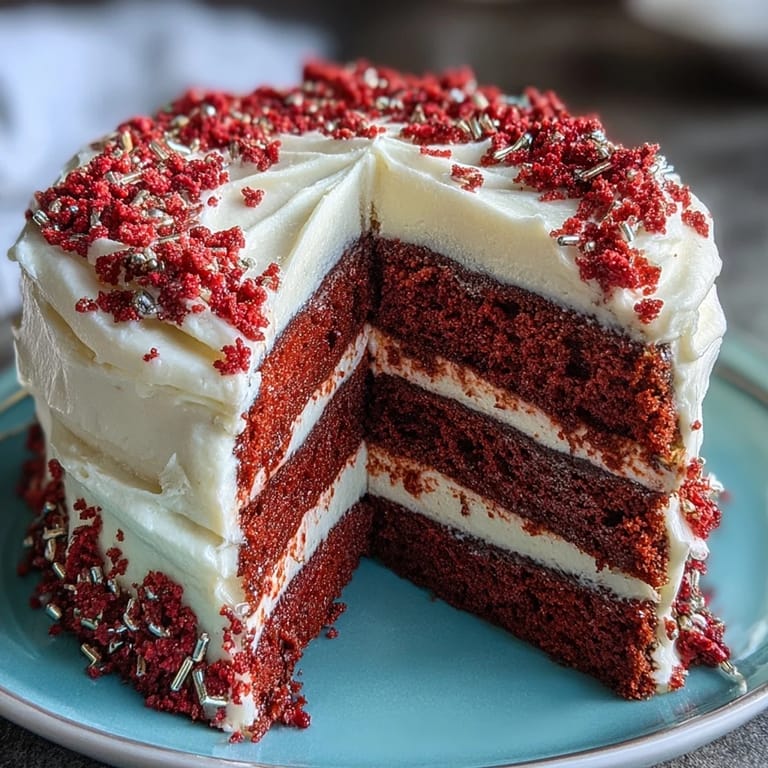
- Feel free to get creative with decorations, using red or gold sprinkles or even cake crumbs. Make it your own!
 Save
Save This cake is more than just a dessert; it embodies celebration and connection, especially on Juneteenth. Every bite feels like a conversation steeped in history, making it a dish worthy of any festive occasion.
A Touch of Tradition
Incorporating red velvet cake into our family celebrations has created a delicious tradition. With each batch, I find myself thinking of how certain recipes can bridge generations, telling stories of times gone by.
Elevating Your Experience
Don't hesitate to experiment with flavors; a touch of orange zest in the frosting can give it a refreshing twist. You can also try adding chocolate chunks to the batter for an extra surprise.
Final Flourishes
As you prepare your cake, keep these in mind: allow cakes to cool completely before frosting to prevent melting. A warm cake makes for a gloppy mess!
- Ensure you sift your powdered sugar before adding it to the frosting.
- For easy serving, chill the frosted cake in the fridge for an hour.
- Enjoy the process—cooking is as much about the journey as it is the destination!
 Save
Save In the end, it's about gathering with loved ones and sharing something sweet that draws us closer together. Here’s to making beautiful memories over slices of this delightful cake!
Recipe FAQs
- → What makes a red velvet cake different?
Red velvet cake is known for its unique deep red color and its subtle cocoa flavor. It often features buttermilk, which adds a tangy depth, and is traditionally paired with cream cheese frosting.
- → Can I use a different frosting?
Yes! While cream cheese frosting is classic, you can experiment with chocolate or whipped cream for a different twist.
- → How can I ensure my cake is moist?
Using buttermilk and not overmixing the batter are key. Additionally, letting the cakes cool properly can help maintain moisture.
- → Is it necessary to use red food coloring?
Red food coloring is essential for that iconic look. If you prefer a natural alternative, you can use beet juice, though the flavor may vary.
- → How can I store the cake?
Store the cake in the refrigerator in an airtight container. It can be made a day in advance and still taste delicious!