 Save
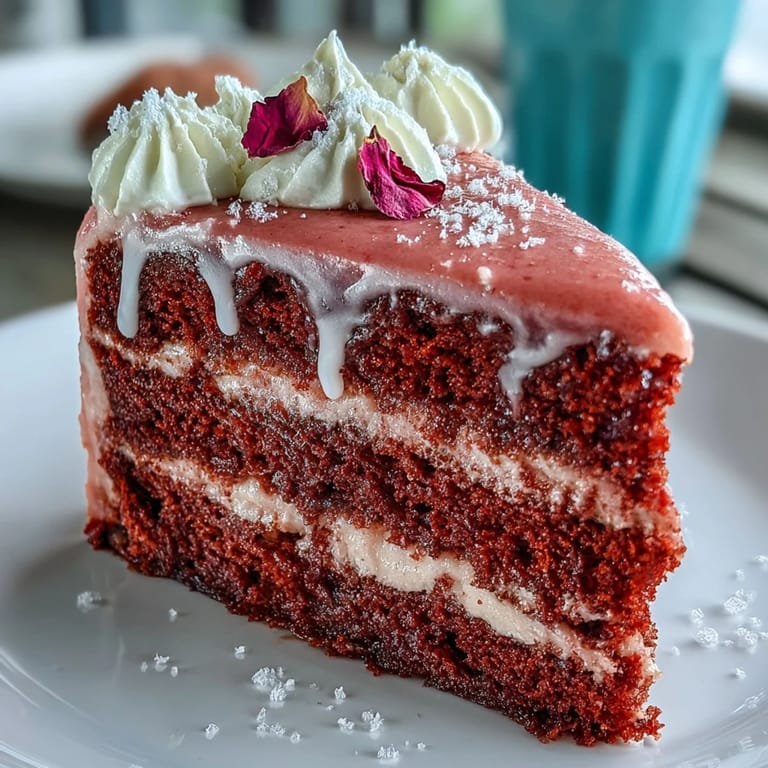
Save The scent of freshly baked cake and the playful sparkle of gold have a way of transforming an ordinary afternoon into something celebratory. The first time I attempted this Rosé Velvet Cake was on a whim, inspired by the bottle of pink wine left over from a picnic with friends and a desire to create a dessert worthy of a bridal shower toast. What came from my kitchen was a cake that blushed with color and shimmered under the kitchen lights, instantly stealing the spotlight. It might not have started with a plan, but it ended with a small crowd marveling at both the flavor and the glamour. Somehow, cake just tastes even better with a little anticipation in the air.
I still laugh thinking about how my sister hovered over me while I painted the gold drip for her bridal shower, holding her breath for every brushstroke. The whole room filled with the buttery aroma of icing while chatter and excitement bubbled around us. Someone cranked up a love song, and we ended up dancing in socks among mixing bowls and stray rose petals. Making this cake became more than just baking—it was the start of the party, right there in the kitchen.
Ingredients
- All-purpose flour: Go for a gentle hand when measuring to keep the crumb tender; I learned this after my first dense attempt.
- Granulated sugar: This brings balanced sweetness and guarantees a lovely golden edge on each layer.
- Baking soda: Just the right amount makes the cake rise tall and even.
- Fine salt: A little pinch deepens all the flavors, making the rosé pop.
- Unsweetened cocoa powder: Don’t worry, you won’t taste chocolate—it’s just here for depth and that perfect velvet color.
- Vegetable oil: Skip butter for a uniquely plush, moist crumb that survives even the longest party speeches.
- Large eggs: Let them come up to room temperature so your batter is smooth as silk.
- Buttermilk: This keeps things lush and rich; room temperature is key for an even batter.
- Rosé wine: Dry or sparkling both work, but use what you enjoy sipping—a little left in the glass is your reward.
- Vanilla extract: It anchors the floral notes from the wine and always brings warmth.
- White vinegar: An old-school secret: it reacts with the baking soda for that light, fine crumb you crave in velvet cakes.
- Pink or rose gel food coloring: Start with less than you think—too much and you lose the elegance.
- Unsalted butter: Make sure it’s really at room temp for the creamiest, smoothest buttercream (trust me on this one).
- Powdered sugar: Sift to avoid lumpy frosting and for a perfect finish.
- Rosé wine: Yes, again! It ties the whole flavor profile together in the buttercream and whispers ‘special occasion.’
- Vanilla extract (buttercream): A dash here rounds out both the icing and the cake.
- Pinch of salt (buttercream): Don’t skip it; it keeps things from being cloying.
- White chocolate chips: For a reliable drip, use chips—they melt evenly and set glossy.
- Heavy cream: This loosens the chocolate just enough for graceful drips.
- Edible gold luster dust: Make sure it's labeled edible; the shimmer is irresistible and totally safe for celebration cakes.
- Vodka or clear lemon extract: A little splash turns luster dust into a paintable gold elixir.
Tired of Takeout? 🥡
Get 10 meals you can make faster than delivery arrives. Seriously.
One email. No spam. Unsubscribe anytime.
Instructions
- Prep your pans:
- Grease and line three 8-inch pans with parchment, pressing the paper against the sides for tidy layers.
- Mix dry ingredients:
- Sift flour, sugar, baking soda, salt, and cocoa into a large bowl—listen for the quiet hiss that means you’re aerating well.
- Add the liquids:
- Whisk oil, eggs, buttermilk, rosé, vanilla, and vinegar together until blended, then pour into your flour mix.
- Color and combine:
- Mix just until smooth and streak-free, and swirl in your chosen amount of pink or rose gel food coloring.
- Bake it up:
- Divide the batter evenly between pans and slide them into the oven—your kitchen will start to smell softly floral and sweet.
- Cool with patience:
- Let cakes rest in pans for 10 minutes, then carefully turn onto a rack; let them cool completely before icing.
- Whip up buttercream:
- Beat butter until light, then add powdered sugar bit by bit for cloudlike fluffiness, finishing with rosé and vanilla.
- Stack and frost:
- Level the cakes if needed, then layer with buttercream, smoothing between each tier and along the sides for a sharp crumb coat.
- Final frost:
- After a chill, cover with a thicker layer of buttercream and even out the edges with an offset spatula.
- Make the drip:
- Melt white chocolate chips with cream, cool for a few minutes, then spoon gently around the cake’s edge so it drips prettily.
- Paint it gold:
- Mix edible gold luster dust with vodka until brushable, then daub each drip for a glorious metallic finish.
- Decorate and serve:
- Scatter with gold accents, rose petals, or your fanciest berries to finish—step back and admire!
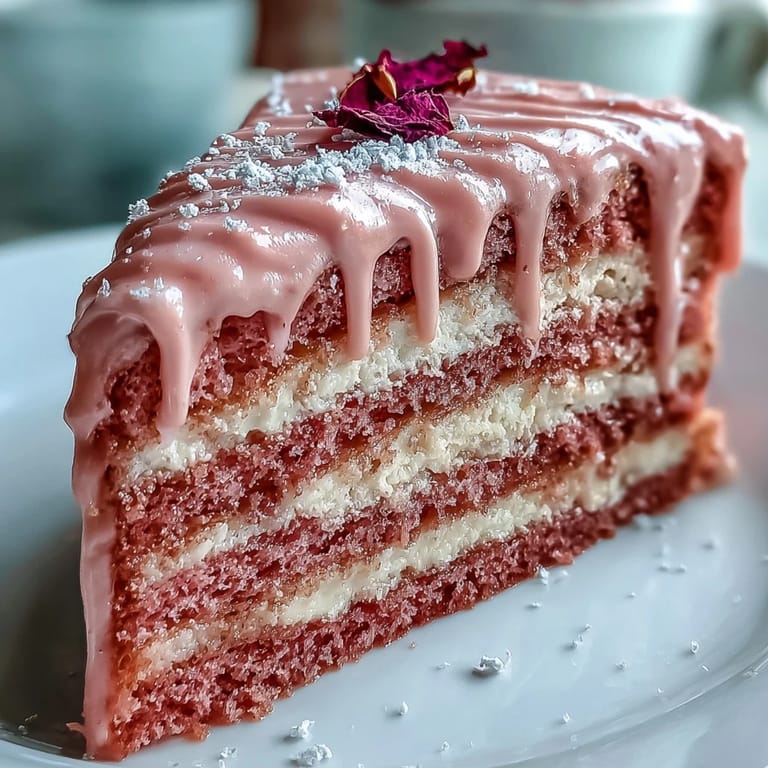 Save
Save 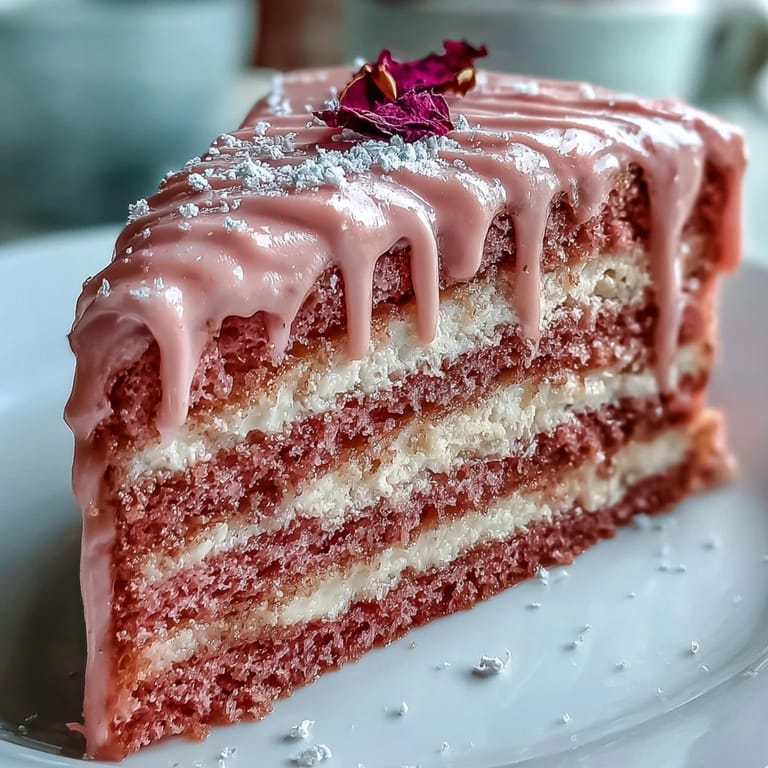 Save
Save There’s a photo I keep of everyone leaning in to snap a shot of the finished cake, hands reaching past ribbons for the first slice. It’s proof that sometimes, a homemade dessert becomes the centerpiece for laughter and new memories, outshining every carefully chosen favor.
Planning Ahead for the Perfect Party
I learned that this cake truly benefits from a bit of advance planning. Baking the layers the night before gives you plenty of time for the flavors to meld and makes the final assembly less stressful, especially when guests are arriving at different hours.
What to Do with Leftovers
Despite the cake’s showstopping entrance, leftovers are almost inevitable at large gatherings. Sliced and stored in an airtight container, this cake somehow becomes even more tempting the next day as the rosé and vanilla deepen.
Cake Decorating Without the Stress
I used to panic about getting the smoothest buttercream or the most uniform drips, but honestly—imperfection gives this cake its charm. Each time, those slightly uneven drips or a sprinkle of extra gold get the biggest compliments, and the process starts feeling like play instead of pressure.
- If you make a mistake with the gold, just call it "artisan"—people will nod in approval.
- Warm your offset spatula in hot water for the most polished cake sides.
- Step back for a moment before the final decorations—the cake sparkles more than you expect.
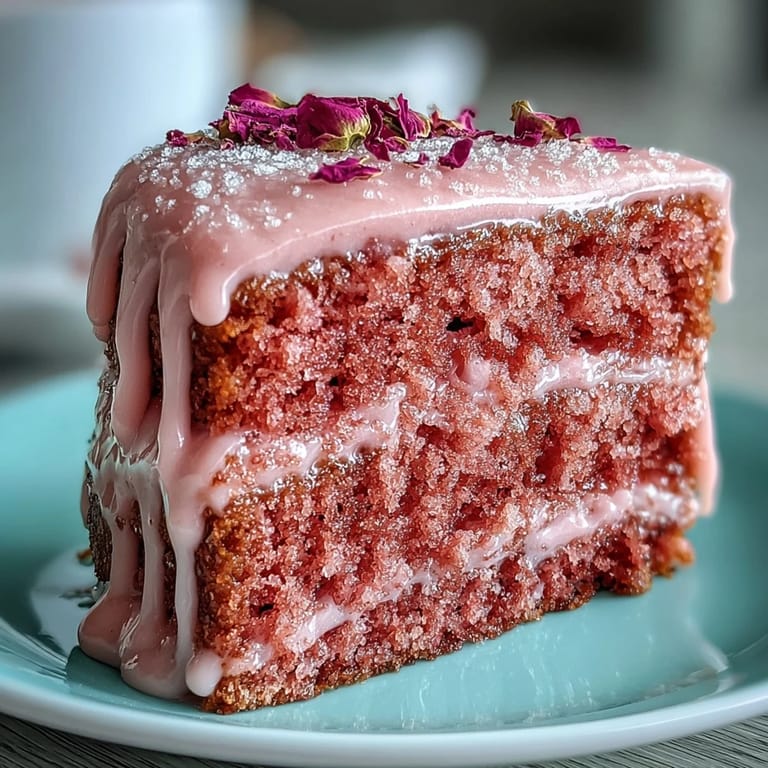 Save
Save 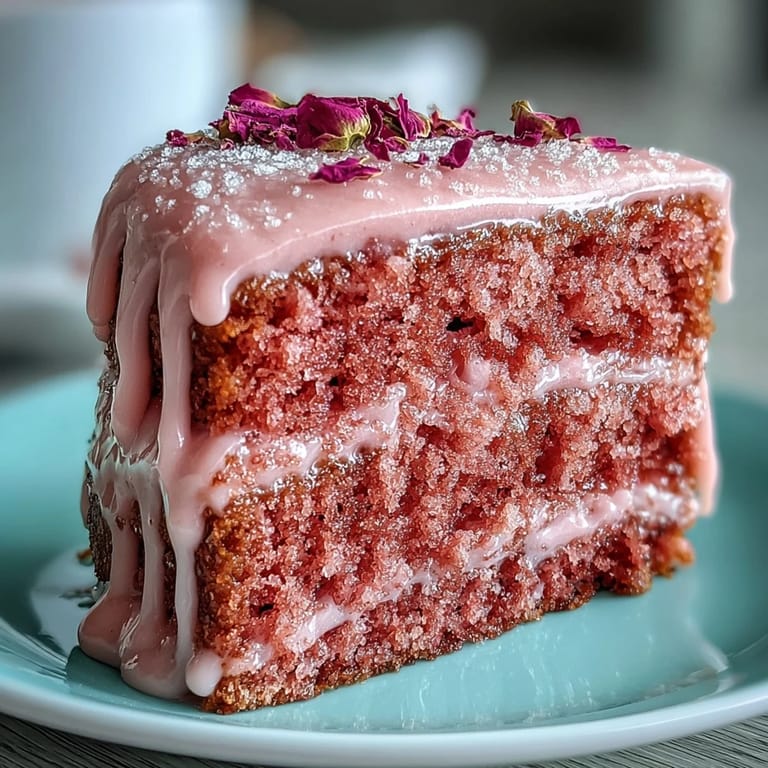 Save
Save Here’s to cakes that feel like a celebration even before the first bite—may your kitchen always be filled with laughter, shimmer, and pink crumbs.
Recipe FAQs
- → Can I omit the rosé wine?
Yes — substitute an equal amount of plain buttermilk or a mix of grape or cranberry juice and a splash of vinegar to mimic acidity. Adjust sweetness and flavor intensity to taste.
- → How do I keep the gold drip from running too far?
Let the white-chocolate drip cool until slightly thickened before pouring and work with chilled cake (after a crumb coat). Thicker ganache and a chilled cake surface control the drip length.
- → Which rosé is best for baking?
Choose a dry or lightly floral rosé, still or sparkling. Avoid overly sweet varieties that can add unwanted sweetness; a delicate, fruity bottle gives the best flavor note.
- → Is the gold paint safe to eat?
Use only edible luster dust mixed with food-grade alcohol (vodka) or clear lemon extract as instructed. Confirm the luster dust is labeled edible and food-safe before use.
- → How should I store and serve the cake?
Store covered in the refrigerator; remove and bring to room temperature 30–60 minutes before serving for best texture and flavor. Keep away from direct heat to preserve the gold finish.
- → Can parts be made ahead?
Yes — bake layers a day ahead and wrap tightly, or freeze cooled layers. Buttercream can be made in advance; assemble and chill before finishing with the drip on the day of serving.